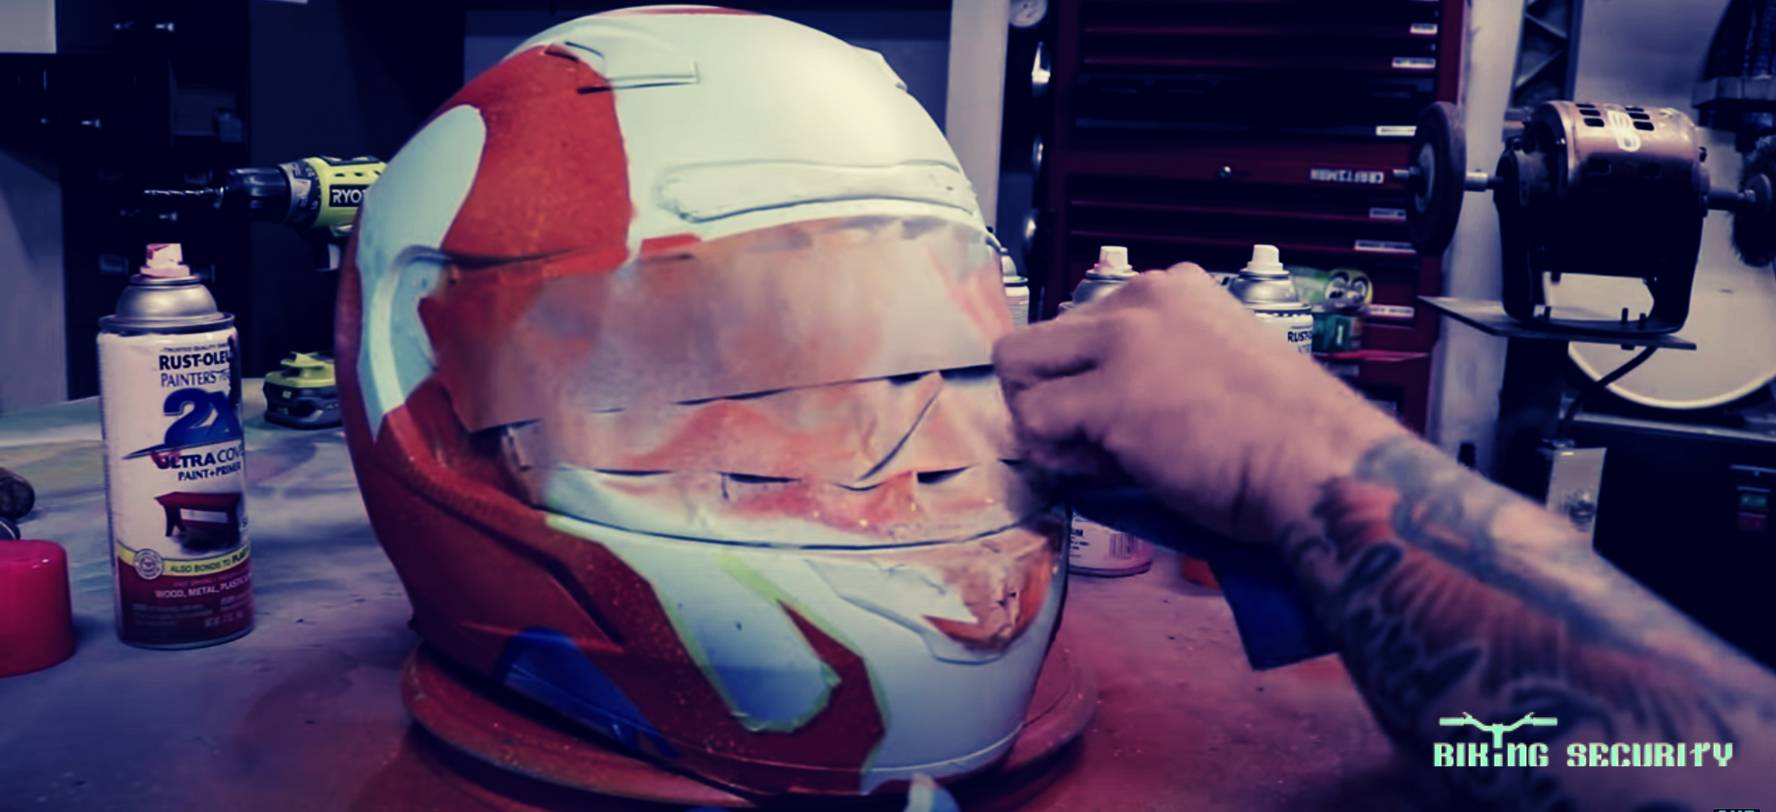
Customizing your helmet into a piece of art with painting is fun. But bikers with minimal knowledge of artwork can ruin the design. It can happen to other bike helmets as well like full face helmets, modular helmets etc.
What makes this process more appealing is that you don’t require expert-level mastery in spray to paint your helmet. All you should follow is some introductory tips, an inventory of tools, and an open mindset about being cool.
Let’s learn how to paint a dirt bike helmet. Before that, note down what you need for a perfect painting.
Jump To Contents
What is the Best Source Material for Painting Dirt Bike Helmets?
You can use regular paints for your dirt bike helmet because many standard materials contain chemicals that will harm your helmet’s surface. You will need specialized materials for painting your motocross helmet or other brands. Here are some proper materials for painting dirt bike helmets.
1. Regular Spray Gun
A spray gun is a must for this process from start to finish. There are plenty of color sprayers in the market, but you can purchase the HVLP (High Volume, Low Pressure) spray guns to efficiently reduce paint loss up to 75%. Color spray cans are also a good option.
2. Spray Paint
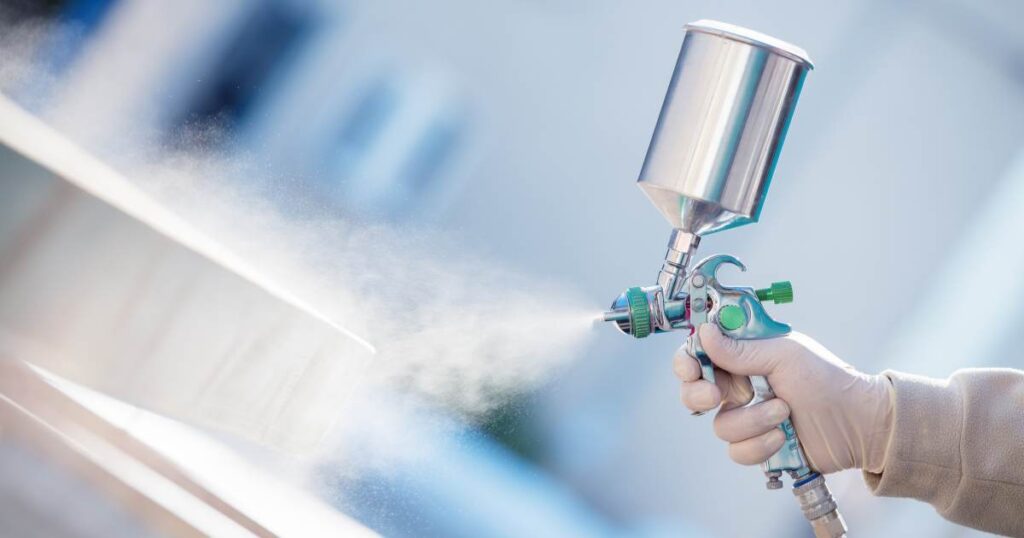
The most basic color material for the helmet surface will be spray paint. It’s perfect because you don’t need much design knowledge to create beautiful art.
Plus, there are many non-toxic spray paints available in the market. You can select from Matte, Frosted, Acrylic, Oil-based, and General-purpose. For painting helmets, we recommend you use Matte spray paints.
3. Masking Tape
Your target for the helmet will be the top surface. So, to protect the inner liners and attachable paddings, you will need masking tape.
Masking tape blocks the paint from entering the areas you don’t want. Any masking tape will do the job. Additionally, you will need some rolled-up newspapers to shove inside the helmet for an extra layer of protection.
4. Spray Coating (Primer)
Primer is an undercoating that ensures perfect bonding of the paint with the object. With primer, your helmet will look more stunning, and the designs will be perfect.
Another thing that makes the primer more special is it can resist the paint dripping from the surface.
5. Scour Pads
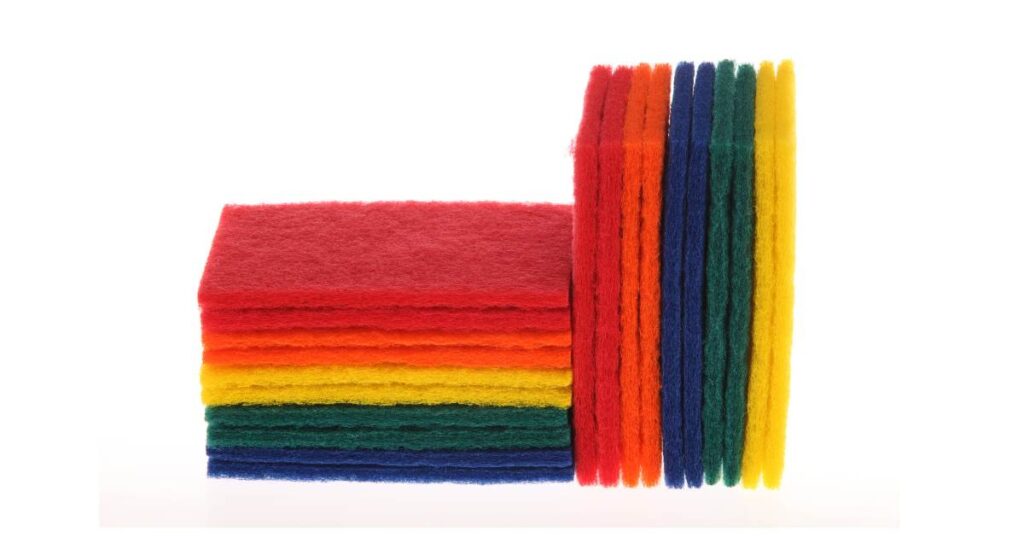
The scour pads will have little use in the overall painting process. You will use the scour pads only to suck out any extra paint from the helmet.
We recommend you get the Scotch-Brite Scour Pads for the best results. From a set, you will get 8 washing pads.
6. Other Essential Stuff for Helmet Painting
What will you paint on the helmet surface? For spray paint, you can either do patterns or a custom design. If you have something in mind, create a reference shape of that design and cut it out from a stencil. It’s best to use custom-made spray stencils for the helmet.
The rest of the items will be-
- Sandpapers.
- Knife.
- Latex gloves.
- Protective glasses.
- Mask.
- Helmet cleaners.
7 Steps For Printing the Helmet Shell
It’s time to begin the process. In this article, we only provide information for Spray Color Painting. Follow the below steps.
Step 1: Remove Any Surface Stickers or Logo
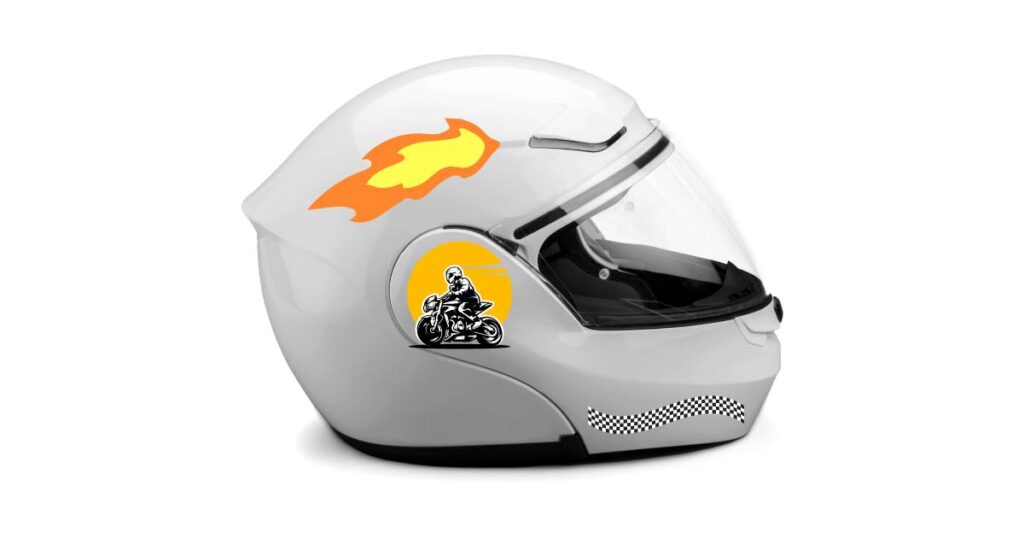
You will need a perfect plain surface to apply any coatings or color. Use sandpaper and rub the shell to erase any stickers, patterns, or logos. You can use a helmet cleaner to clean any other from the surface and wipe with a soft towel.
Step 2: Dismantle Your Helmet
You will not want any paint to get in your chin guard, visors, or inner paddings. So, before starting the process, remove these parts from the helmet to prevent any problems.
Also, there might be tiny screws in the visor area that will not work later for paint, so remove them too.
Step 3: Warp the Helmet with the Masking Tape
In this step, cover exclusively the parts you don’t want the paint to enter. Some inner linings are fully attached to the helmet and unremovable. Use masking tapes to cover any gapings or holes in the helmet.
Also, you don’t want any paint to enter inside the shell, so cover the edges of the helmet. Masking the edges will prevent dripping paint from entering the helmet.
Step 4: Apply the Primer Coating
This step will be the most crucial part of the entire process because a mistake in the coating will ruin the additional procedures.
Keep in mind that you will need to apply the primer to the entire shell of the helmet. And after spreading the primer, let it soak for a night to absorb the formula on the surface.
Another thing you will need to focus on is applying multiple (maximum 2 or 3 times) layers of primer.
Step 5: Add an Extra Quick Coating and Remove
Add an extra thin coating layer on the existing main layer and let it dry. You will gently remove this thin layer with wet-n-dry sandpaper inside the medium warm soapy water. Make sure that the original primer coating doesn’t get removed by this process.
Step 6: Spray Paint the Helmet
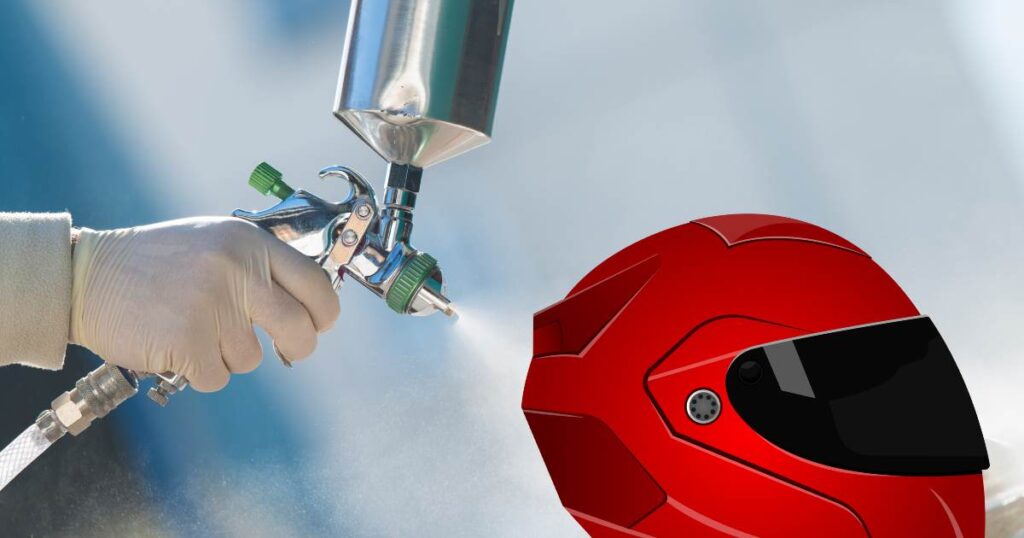
You can use a pre-made stencil or tape to make your patterns. It’s best to use stylish pre-made ones because 100% guarantees you beautiful shapes.
It’s best to apply one paint coating at a time and let it soak. Adding multiple layers at the same time might ruin the process.
After the paint has dried, pull out the masking tapes from the outer edges,
Step 7: Reassemble the Helmet
After the paint has dried out, reattach all the helmet parts and screws. Use the manufacturer’s manual to finish your process faster.
FAQs on How To Paint A Dirt Bike Helmet
Is painting your helmet illegal?
No, painting your helmet is not illegal. Any American traffic laws that directly mention painting in helmets are legal. However, painting may weaken the helmet surface. You can prevent this by sanding the helmet gently.
What paints are best for painting your helmet?
It’s best to use water-based colors for hand painting the surface. For spray paint, any regular spray paint will do the job.
Can you paint matte helmets?
Matte helmets have a smooth surface that will get ruined after painting because you will need to scratch the surface. So, it’s best not to paint your helmet with a matte finish.
How much time does it take to dry helmet paint?
On average, it may take up to 15 minutes to 1 hour to completely dry a helmet’s shell paint.
How much temperature can a helmet endure?
The maximum temperature of a tested helmet is over 50 degrees (centigrade scale). And the minimum temperature is -22 (centigrade scale), approved by the European CE certification.
The Bottom Line
Now that you know all the basics about painting a helmet, it’s time to apply it in real life.
To ensure safety, take essential precautions, like wearing safety glasses, masks, and latex gloves, before painting the helmet. Protection while working is also a part of the regime.
Best of Luck!
Viola is a mountain bike rider who loved to ride on various off-road tracks. In her half a decade of biking experience she always preferred safe rides. In her early riding days, she fall in an accident and after that, she realized how important this safety thing is. Viola starts writing bike safety-related blogs since then so that other bikers can remain safe while riding.
